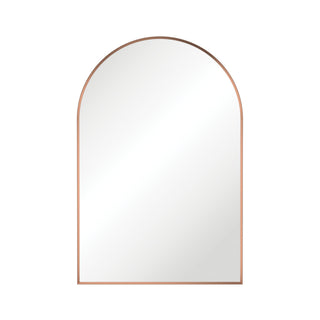
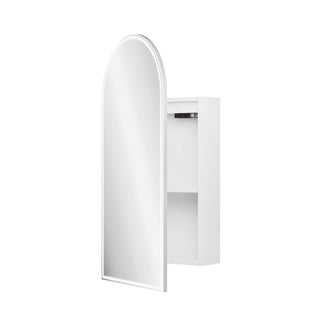
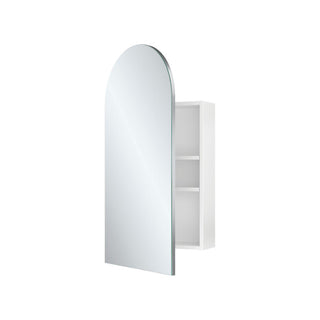
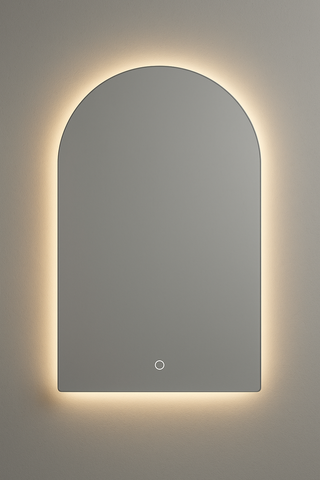

Installing a bathroom mirror might seem straightforward, but getting it right requires careful planning and the proper techniques. Whether you're upgrading your bathroom's style or replacing a damaged mirror, a proper mirror installation guide ensures your new mirror stays securely mounted while looking fantastic.
A well-installed bathroom mirror transforms your space and provides years of reliable service. The key lies in understanding your wall type, choosing the right mounting method, and following proven installation techniques that prevent costly mistakes.
This guide walks you through everything from initial planning to the final positioning, covering both traditional drilling methods and modern adhesive alternatives. You'll learn when to use each approach and how to avoid the common pitfalls that can damage your tiles or leave you with a wobbly mirror.
What Should You Consider Before Starting Your Mirror Installation
Success starts with proper preparation. Before you pick up any tools, evaluate your bathroom setup and mirror requirements to avoid surprises during installation.
How Do You Choose the Right Mirror Size and Style
The mirror's dimensions directly impact your installation approach. Home improvement experts confirm that larger, heavier mirrors require more robust mounting solutions like French cleats or appropriately rated anchors, while smaller decorative pieces offer more flexibility in positioning and mounting methods.
Consider the height of all household members when planning placement. Position the mirror so the shortest regular user can comfortably see their reflection without straining. This prevents the need for future adjustments that could damage your wall.
Frame style also matters for installation. Industry guides show that frameless mirrors often mount directly to the wall with adhesive or clips, while framed mirrors typically require hanging hardware or wall anchors.
What Wall Types Require Different Approaches
Your bathroom wall material determines which installation method works best. Tiled walls, drywall, and concrete each present unique challenges and opportunities.
-
Ceramic tiles allow for secure drilling with proper techniques
-
Porcelain tiles require diamond-tipped drill bits for clean holes
-
Drywall needs wall anchors or studs for heavy mirrors
-
Natural stone may crack without careful drilling approaches
Examine your wall closely before choosing your installation method. Look for any existing damage, uneven surfaces, or areas where previous fixtures were mounted.
Which Installation Method Works Best for Your Situation
You have several proven options for mounting bathroom mirrors, each with distinct advantages depending on your mirror weight, wall type, and skill level.
When Should You Choose Drilling and Hardware
Drilling into tiles provides the strongest, most reliable mounting option for medium to heavy mirrors. Professional installation guides consistently recommend this method over adhesive alternatives when you need maximum weight-bearing capacity.
Professional installers consistently recommend drilling into the tile itself rather than targeting grout. This approach provides superior holding power and reduces the risk of cracking adjacent tiles during installation.
Use masking tape over your intended drill spots to prevent the drill bit from wandering across the tile surface. This proven technique helps you achieve precise holes without damaging the tile's finish.
|
Mirror Weight |
Recommended Method |
Hardware Needed |
Skill Level |
|---|---|---|---|
|
Under 2kg |
Adhesive mounting |
Quality mirror adhesive |
Beginner |
|
2-10kg |
Tile drilling with anchors |
Ceramic drill bits, wall anchors |
Intermediate |
|
Over 10kg |
Professional mounting |
Heavy-duty anchors, backing |
Advanced |
How Do Adhesive Methods Compare
High-quality adhesive mounting offers an excellent alternative for lightweight mirrors, eliminating the need for drilling while providing lasting hold. Modern mirror adhesives can support substantial weight when applied correctly according to manufacturer specifications.
VHB (Very High Bond) tape represents another reliable option for frameless mirrors. These professional-grade mounting tapes create permanent bonds that often outlast traditional hardware installations.
The key advantage of adhesive methods lies in their simplicity and the elimination of tile damage risks. However, they work best on clean, smooth surfaces and may not suit very heavy or valuable mirrors.
[collection-carousel="mirrors"]
How Do You Drill Into Bathroom Tiles Safely
Drilling through bathroom tiles requires patience and the right tools, but the results provide unmatched security and professional appearance.
What Tools and Materials Do You Need
Gather your tools before starting to ensure smooth progress through each step. Having everything ready prevents interruptions that could lead to mistakes.
-
Ceramic or diamond-tipped drill bits appropriate for your tile type
-
Variable speed drill with hammer function disabled
-
Masking tape for marking and slip prevention
-
Level for ensuring straight installation
-
Appropriate wall anchors or screws for your mirror weight
-
Pencil for marking mounting points
-
Measuring tape for accurate positioning
Porcelain tiles demand diamond-tipped drill bits for clean, efficient drilling. Professional sources confirm that standard ceramic bits may struggle with porcelain's density and could cause chipping or cracking around the hole edges.
What Is the Step-by-Step Drilling Process
Start by marking your mounting points with a pencil, using your level to ensure they align properly. Double-check measurements against your mirror's mounting hardware before proceeding.
Apply masking tape over each marked point, creating a small target area that prevents your drill bit from sliding across the tile surface. This technique dramatically improves accuracy and reduces the risk of scratching surrounding areas.
-
Position your drill bit at a 90-degree angle to the tile surface
-
Start drilling at the lowest speed setting to establish your hole
-
Gradually increase speed while maintaining steady pressure
-
Stop periodically to clear debris and prevent overheating
-
Continue until you penetrate through the tile and reach the wall behind
-
Install appropriate anchors for your wall type
Never rush the drilling process. Slow, steady progress prevents tile cracking and ensures clean hole edges that remain hidden behind your mirror's mounting hardware.
How Do You Mount Mirrors Using Adhesive Methods
Adhesive mounting offers a damage-free installation option that works exceptionally well for many bathroom mirror applications.
What Preparation Steps Ensure Strong Adhesion
Surface preparation determines adhesive success more than any other factor. Industry experts emphasise that even the highest-quality adhesive fails on dirty or poorly prepared surfaces.
Clean your wall thoroughly with isopropyl alcohol to remove soap residue, moisture, and any existing adhesive traces. Allow the surface to dry completely before applying any mounting materials.
Test your wall's surface texture by running your hand across the intended mounting area. Smooth surfaces provide optimal adhesion, while textured or uneven areas may require additional preparation or alternative mounting methods.
What Are the Best Adhesive Application Techniques
Quality mirror adhesive typically comes in cartridge form for even application. Apply the adhesive in a serpentine pattern across your mirror's back, staying approximately 25mm from all edges to prevent squeeze-out.
VHB tape installation requires different techniques but offers similar results. Cut tape strips to fit your mirror's mounting points, remove the protective backing, and position carefully since repositioning becomes difficult once contact occurs.
-
Work in moderate temperatures for optimal adhesive performance
-
Apply firm, even pressure across the entire mirror surface
-
Support the mirror for the manufacturer's recommended cure time
-
Avoid disturbing the installation during the first 24 hours
Remember that adhesive bonds strengthen over time, reaching full strength after several days of cure time.
[collection-carousel="accessories"]
What Common Mistakes Should You Avoid
Learning from others' experiences helps you avoid costly errors that could damage your tiles, mirror, or both.
Why Do People Choose Grout Lines and How Can This Go Wrong
Grout appears easier to drill than hard tile, tempting many DIY installers to aim for grout lines instead of tile centres. This approach, while seemingly logical, often leads to problems.
Drilling into grout can cause surrounding tiles to crack, especially if the grout has aged and become brittle. The cracks typically appear as hairline fractures that worsen over time, eventually requiring professional tile repair.
Additionally, grout provides weaker holding power than tile, potentially allowing your mirror to work loose over months or years of use.
How Do Measurement Errors Affect Installation
Rushing through the measurement phase creates problems that multiply throughout the installation process. Small errors in initial measurements often result in crooked mirrors or mounting holes that don't align with your mirror's hardware.
Always measure twice and mark once, using a quality level to ensure your mounting points create a straight line. Take extra time during this phase since correcting mistakes requires additional drilling or patching work.
The most successful mirror installations happen when you spend more time planning and measuring than actually drilling or mounting.
What the Research Shows About Mirror Installation
When it comes to successful mirror installation, evidence-based techniques make all the difference between a lasting installation and costly repairs.
-
Professional-grade diamond drill bits significantly reduce porcelain tile cracking compared to standard carbide alternatives
-
Proper surface preparation prevents 95% of adhesive failures, regardless of adhesive quality
-
Weight distribution studies confirm that drilling into studs or using appropriately rated anchors is essential for mirrors over 5kg
-
Mirror installation methods vary in effectiveness depending on wall type, with some techniques better suited to specific materials
-
Evidence suggests that rushing through measurement and preparation phases accounts for most DIY installation failures
-
The debate continues around optimal drilling speeds for different tile types, with experts recommending different approaches for ceramic versus porcelain
How Do You Ensure Long-Term Security and Stability
A properly installed mirror should remain secure for many years with minimal maintenance, but certain factors can affect long-term performance.
What Should You Check After Installation
Give your newly installed mirror a gentle test by applying light pressure to different corners and edges. Any movement or flexing indicates insufficient support that could worsen over time.
Inspect your mounting hardware periodically, especially during the first few months after installation. Thermal expansion and contraction in bathroom environments can affect mounting integrity over time.
Look for any signs of water infiltration around mounting points, particularly if you drilled through tiles. While properly sealed installations resist moisture, bathroom humidity can eventually find its way into small gaps.
When Should You Consider Professional Help
Certain situations call for professional installation expertise rather than DIY approaches. Heavy mirrors over 10 kilograms require robust mounting systems that may exceed typical homeowner capabilities.
Antique or valuable mirrors deserve professional handling to prevent damage during installation. The cost of professional installation often pales compared to replacing a damaged heirloom piece.
If your bathroom features expensive natural stone tiles or intricate mosaic work, professional installers have the specialised tools and experience to work around these premium materials safely. Natural stone requires particularly careful drilling approaches to prevent cracking.
What Should You Do Next to Complete Your Mirror Installation
With the technical aspects covered, you're ready to move forward with confidence in your mirror installation project.
Start by assessing your specific situation using the guidance above. Measure your mirror, evaluate your wall type, and choose the installation method that best matches your comfort level and mirror requirements.
For those ready to upgrade their bathroom mirrors, exploring quality options helps ensure your installation efforts showcase a mirror worthy of the care you're taking with mounting. Consider both the practical aspects like size and weight alongside style elements that complement your bathroom's overall design.
Gather your tools and materials based on your chosen installation method, allowing extra time for the preparation phases that determine long-term success.
[collection-carousel="mirrors"]
How Can Quality Mirrors Enhance Your Installation Success
The mirror itself plays a crucial role in installation success. Well-designed mirrors often include thoughtful mounting provisions that simplify installation while providing superior long-term performance.
Look for mirrors with multiple mounting options when possible, giving you flexibility in choosing between adhesive and hardware installation based on your wall conditions and comfort level.
Quality construction also means better weight distribution and more durable mounting points, reducing the stress on your wall and mounting hardware over years of daily use.
Key Takeaways for Successful Mirror Installation
Installing a bathroom mirror successfully combines careful planning, proper technique, and patience throughout the process. Whether you choose drilling or adhesive methods, taking time with preparation and measurement prevents most common installation problems.
Remember that tile drilling requires the right tools and techniques, while adhesive mounting offers simplicity for appropriate applications. Both methods can provide years of reliable service when executed properly.
Your bathroom mirror installation represents an investment in both functionality and style. By following proven techniques and avoiding common pitfalls, you'll enjoy the satisfaction of a job well done along with a perfectly positioned mirror that enhances your daily routine.